When it comes to appliances, it’s important to keep up with repairs and maintenance. Neglecting to do so can lead to big problems down the road. In this blog post, we’ll go over some of the most common appliance repairs and maintenance tips. following these tips can help you avoid costly repairs and keep your appliances running smoothly for years to come.
Most Common Appliance Repairs
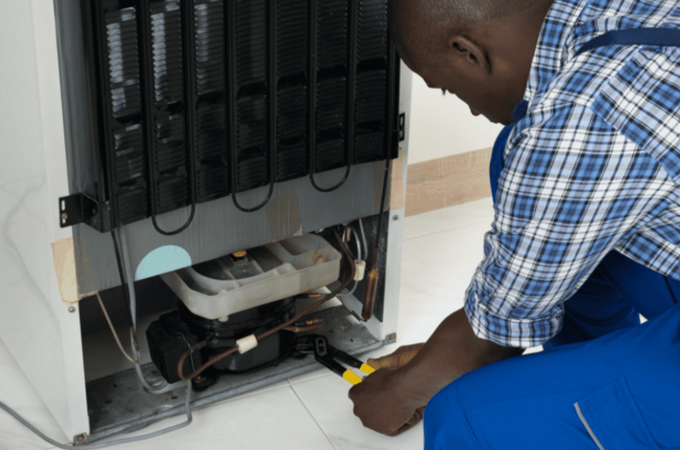
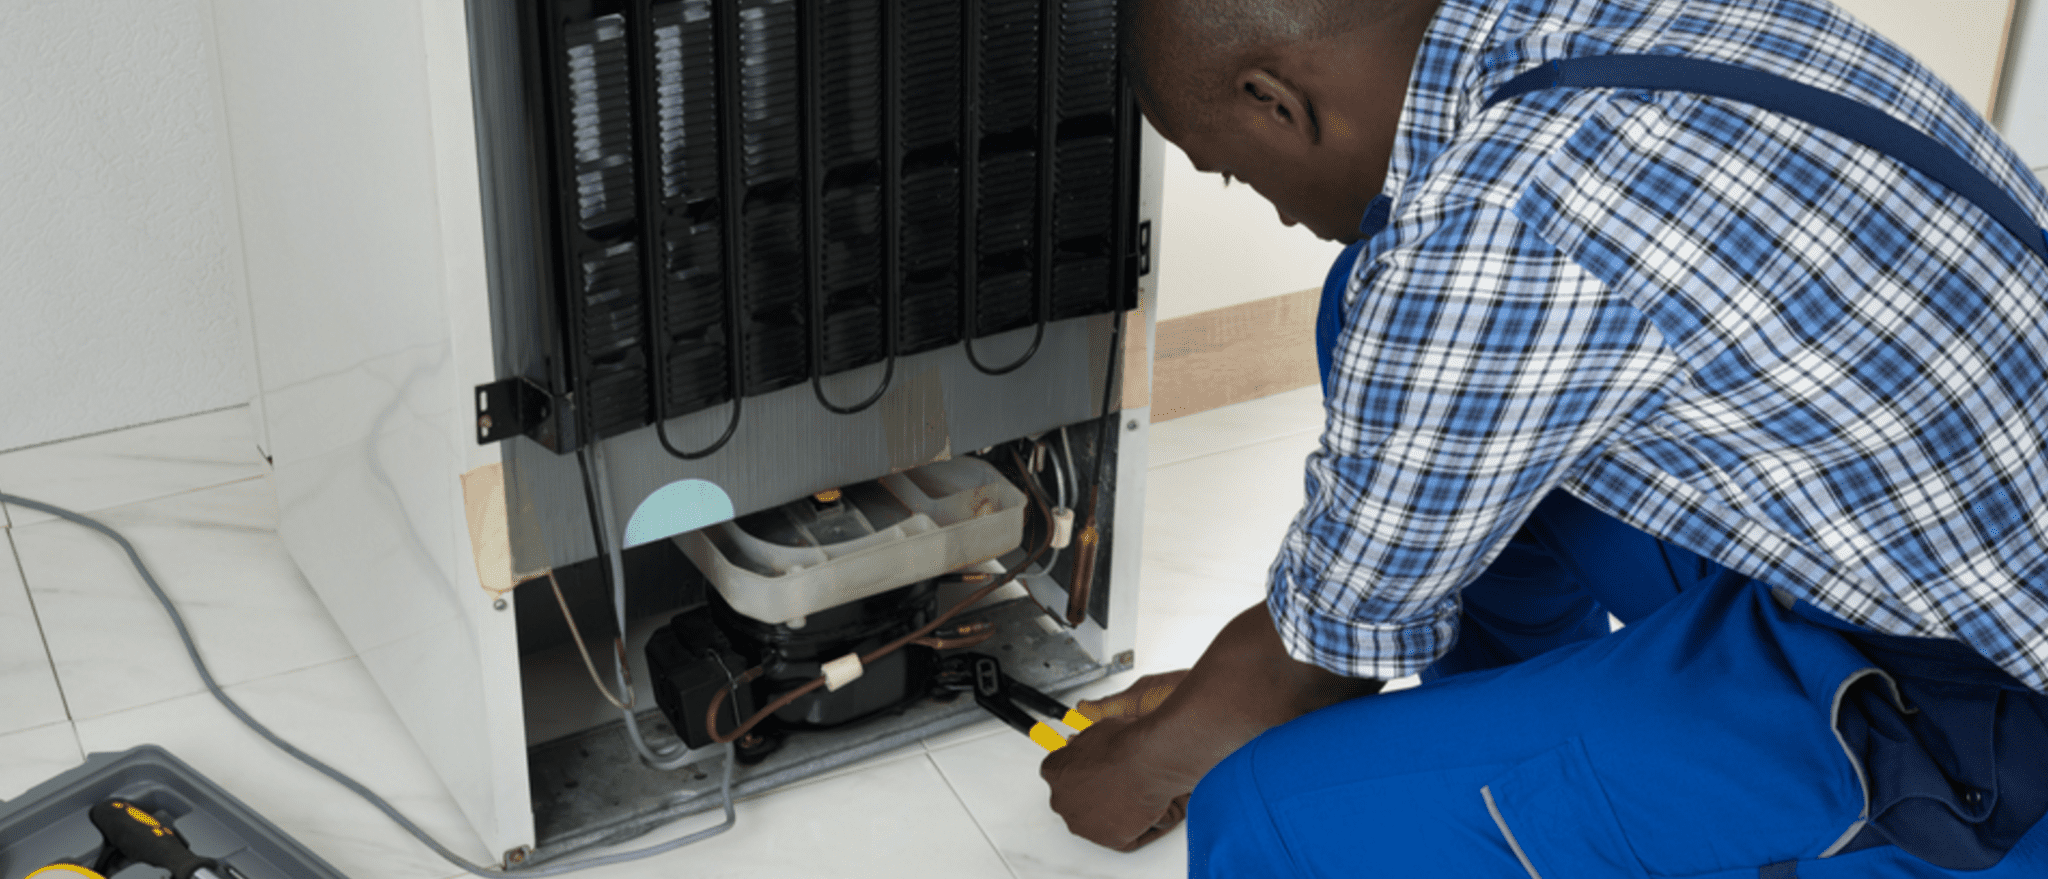
As a homeowner, appliance repairs are inevitable. One of the most common appliance repairs that homeowners recommend is to replace worn door seals on refrigerators and freezers to prevent air leaks. Washing machine issues frequently require servicing as well, such as replacing pumps, motor couplers, belts, and hoses in order to keep the machine running efficiently. Ranges often require surface burners or igniters to be replaced when they stop heating adequately, while dryer issues range from blown fuses and motors all the way up to lint clogs caused by poor maintenance practices. Investing in preventative maintenance can help reduce costly appliance repairs down the line, so it’s best to follow manufacturer recommendations for service intervals whenever possible.
Maintenance Tips
Regular maintenance of items around the home is a smart and simple way to protect your property and save money in the long run. In order to make sure your belongings are kept in proper condition, check for wear-and-tear periodically and respond accordingly. A few essential maintenance tips include changing out air filters on furnaces every 2-3 months, cleaning gutters twice annually, and scheduling annual service visits with professionals such as landscapers, electricians or plumbers. Investing a little bit of time each month to ensure you’re following these basic steps will provide peace of mind and help you keep your home running efficiently.
How to Save Money on Appliance Repairs
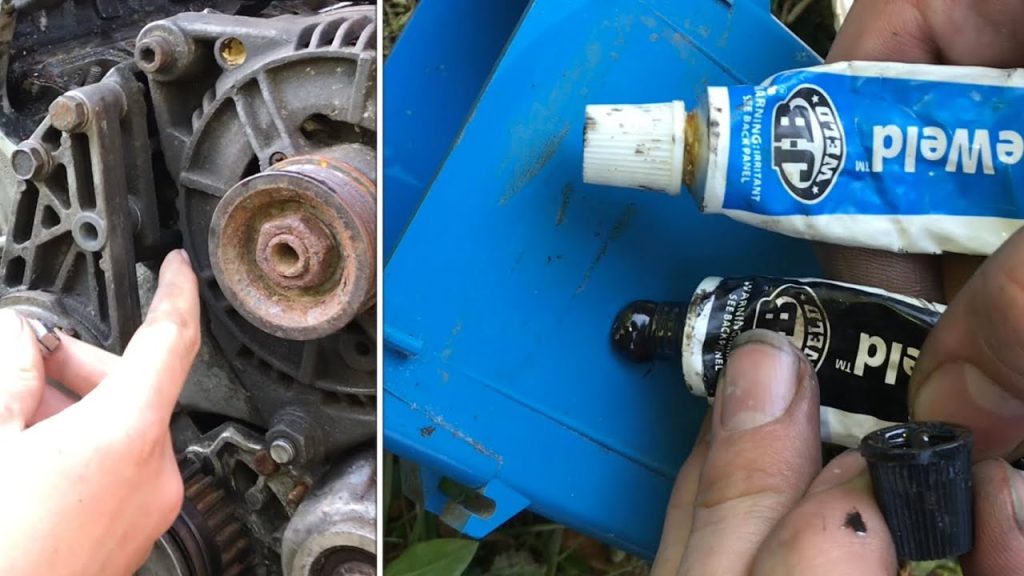
One of the best ways to save money on appliance repairs is by doing the work yourself. Purchasing parts and tools can be expensive up front, but they will often pay for themselves over time. Learning how to make household repairs can not only help you save money, but it can also give you a great sense of accomplishment. Doing research online or speaking with experts at your local hardware store are two great places to start learning about basic repairs for appliances. Even if you don’t fully fix the problem, attempting a repair can help your technician diagnose the issue quicker and potentially spare you from additional charges. Taking these steps and being mindful of how much you spend on repairs can add up in significant savings over time.
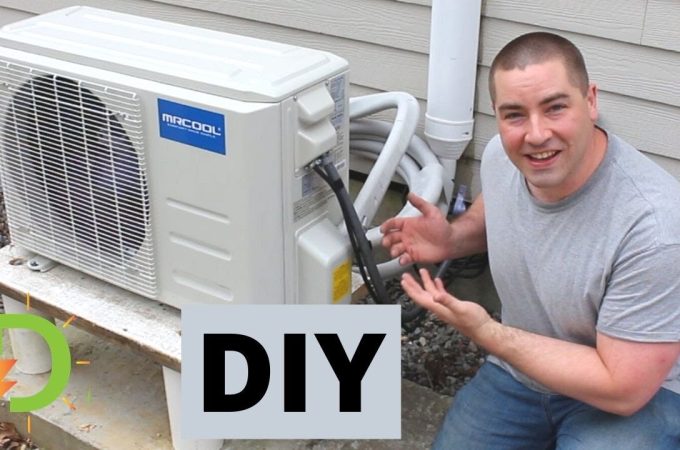
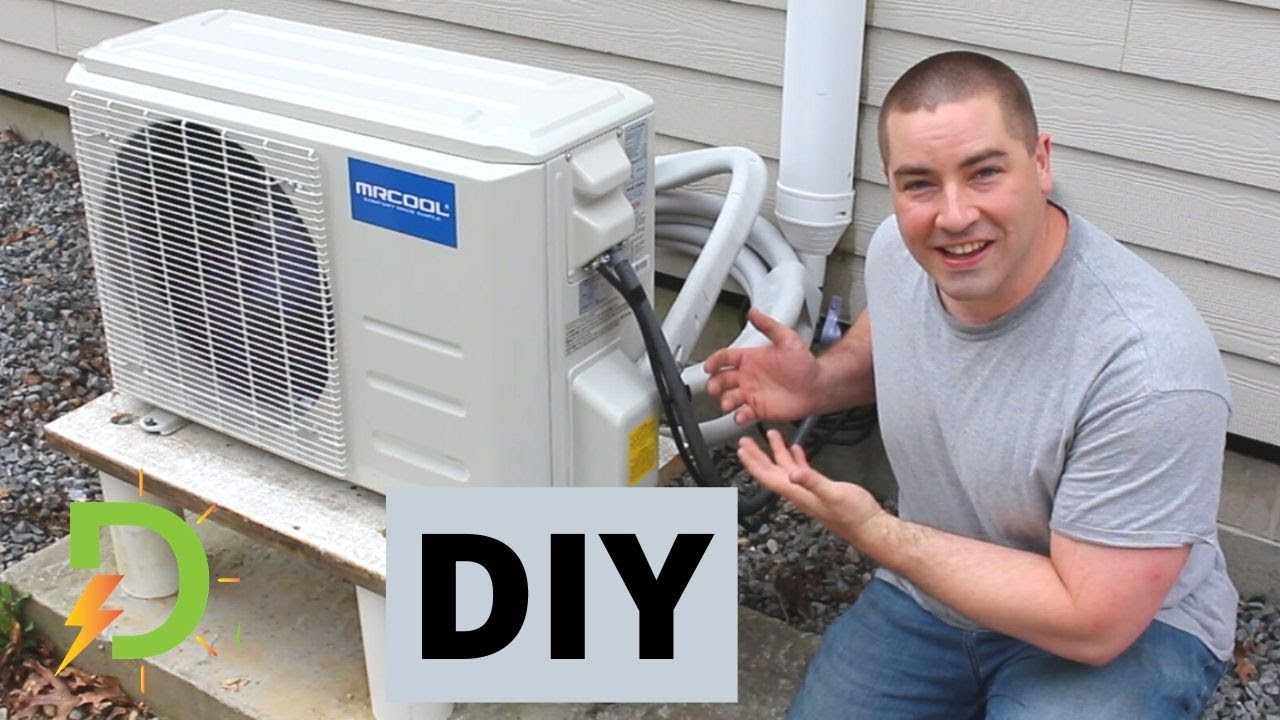
Do-It-Yourself Appliance Repair Guide
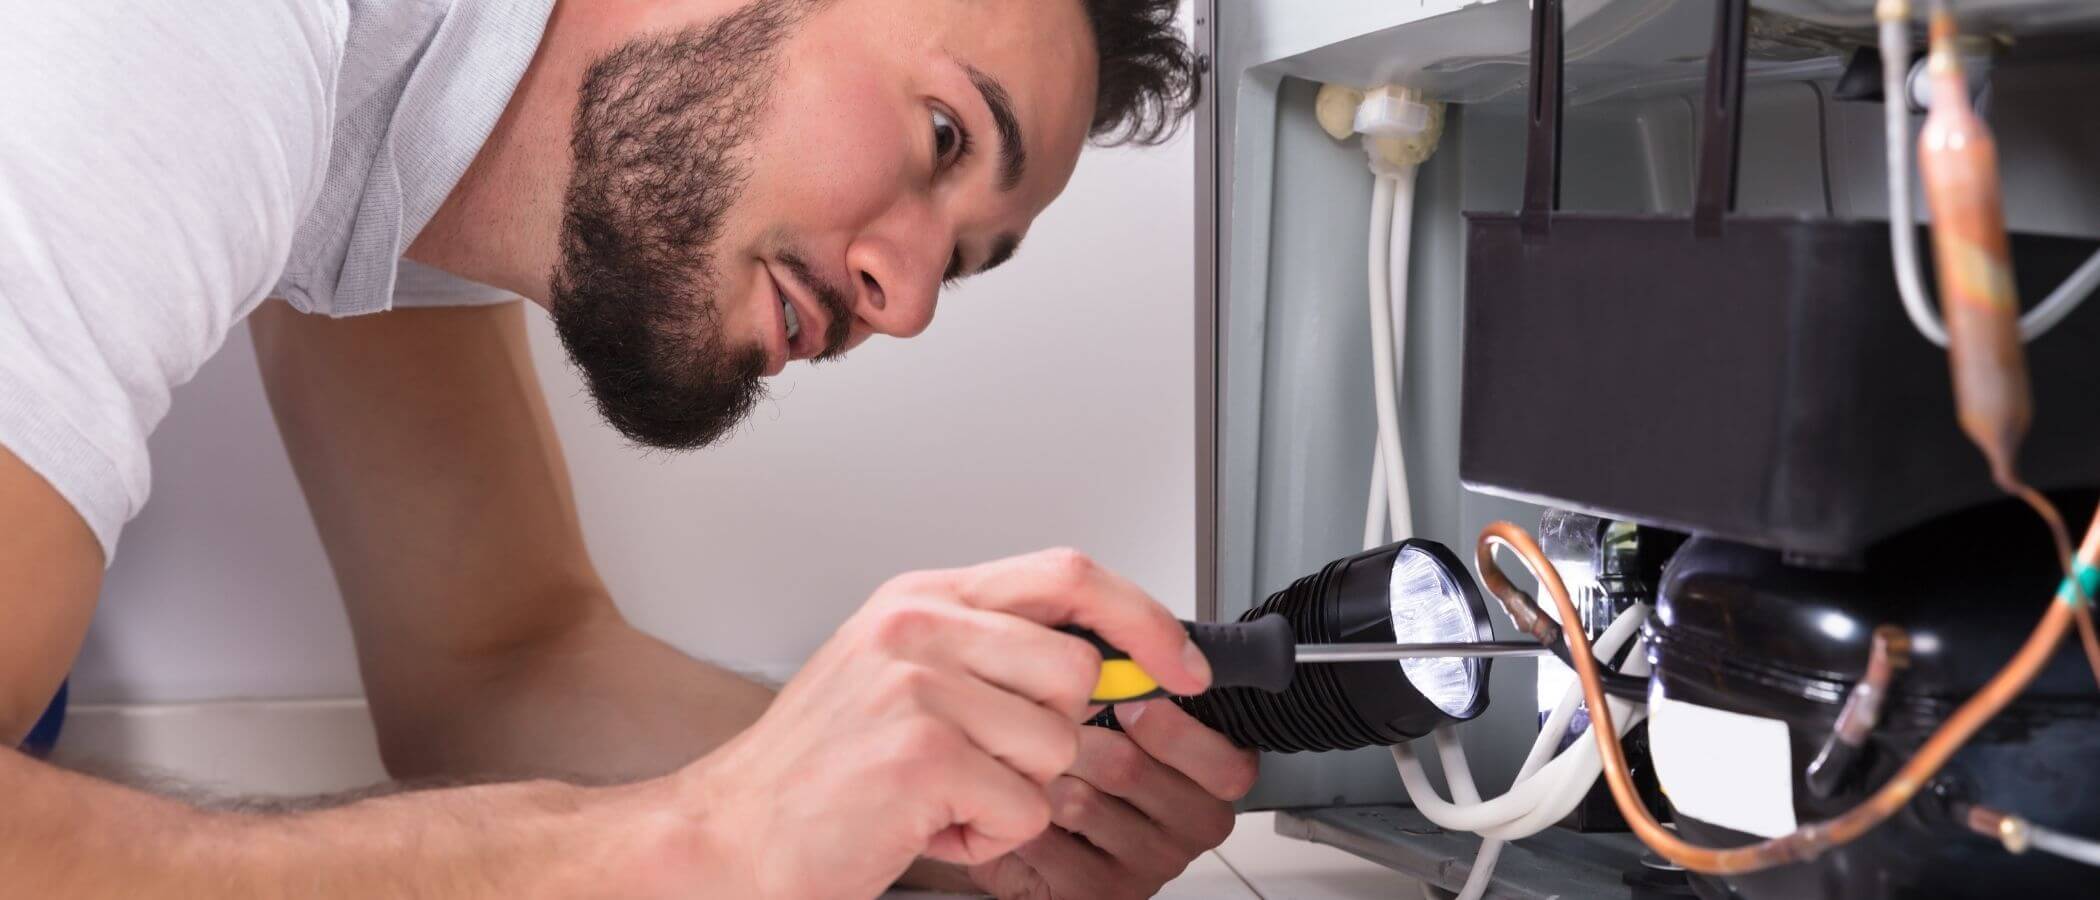
With all of the home items we use and rely on daily, it’s only natural that breakdowns occur from time to time. If you’re looking for an inexpensive way to repair your home appliances, a Do-It-Yourself Appliance Repair Guide could be just what you need. It will walk you through a comprehensive troubleshooting guide with illustrated diagrams and step by step instructions that even a beginner can understand. You’ll be able to quickly identify the root cause of any appliance problem and make necessary repairs with ease! Best of all, these handy guides are available at an affordable price so that no one is left struggling after an appliance disaster.
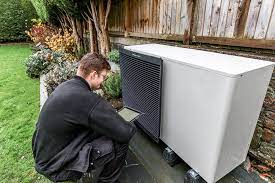
When to Call a Professional for Help
When facing a task that requires expertise or specialized knowledge, it’s often best to call in a professional. While the DIY approach can be very fun and rewarding, certain jobs just require someone who knows what they’re doing. Installing a complex electrical system, repairing intricate plumbing fixtures, or treating potentially hazardous materials are all examples of when it’s always a good idea to rely on the pros. Even if you story takes multiple visits and extra charges, the long-term cost savings and piece of mind of having the job done properly is invaluable. In addition, making sure that all code regulations are complied with can help keep your home safe and up to date. So when in doubt as to whether or not you should handle something by yourself, contact a professional; your wallet and peace of mind will both thank you for it!
The Best Way to Prevent Future Appliance Problems
Taking the time to properly maintain your appliances is the best way to ensure that you experience as few problems with them as possible. Schedule tune ups twice a year to make sure everything is running efficiently and keep an eye out for any strange smells, lights, sounds, or other cues that something may not be working right. Be sure to clean your fridge and oven on a regular basis and check hoses and cords for cracks or wear. Store food properly in your refrigerator and freezer and get your dryer vents checked yearly to make sure they are clear of lint buildup. Keeping up with these tasks will save you time, aggravation, and money—keeping all of your appliances running trouble-free.